Tuesday, December 05, 2006

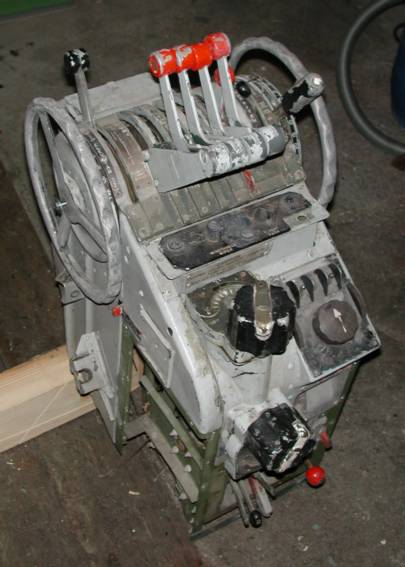
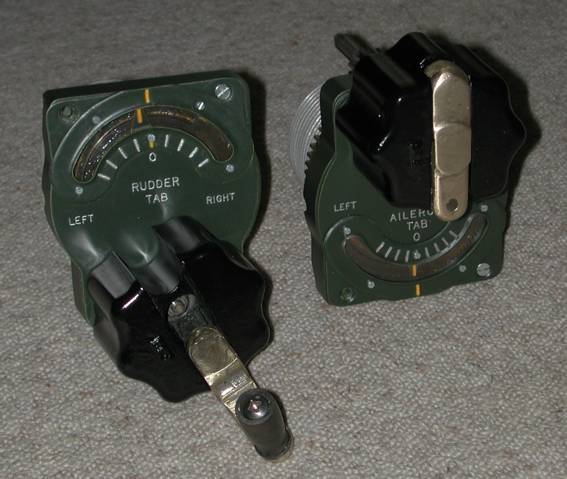
Beautiful but without a function... the trimmers. I will not convert them to work with the simulator. They are looking good and that's fine.
One can turn the handle and the pointer in the display moves, just like in the old times. The glasses of the displays are made from CD cases... I needed something transparent but not too thick.
You gotta have good ideas....

Sunday, December 03, 2006


Well... this whole project is a difficult task but this thing here will be the most complicated part of them all.

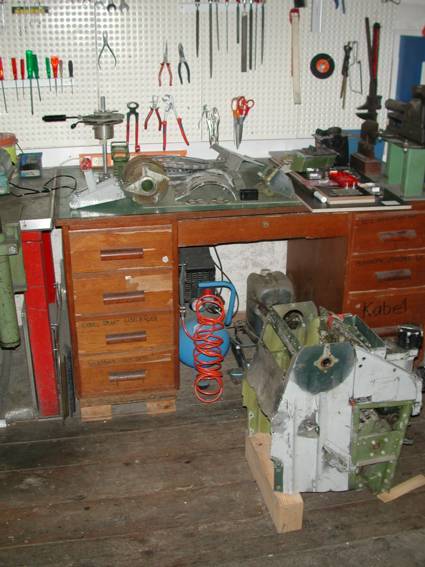
I don't know how the people from Lockheed put this thing together but some parts are not made to disassemble again. Not a single piece can be removed without removing two or three other parts before. And you need a around-the-corner screwdriver and a 3/8" rubber-wrench... :-)

... or 20 atomic powered micro chinese to get to the screws from inside...

I wonder how they managed it to install or change the steel cables. I'm really glad I don't have to do that!

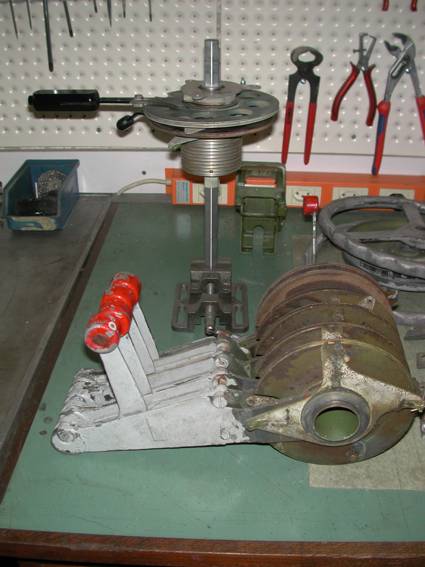
On the last picture you can see the first finished lever (wing flaps). The housing is already cleaned... that was a sticky job. Today I already painted two throttle levers.

I still don't know how I will install the computer-interface-potentiometers but for nostalgic reasons it will be something with cords and wires.

Sunday, November 19, 2006


Heute hab ich den Glare Shield wieder im Cockpit eingebaut... hab ganz vergessen, dass noch nicht alle Fensterschrauben montiert waren, so hat sich das um eine Stunde verzögert. Die musste ich schliesslich zuerst anbringen, nachher kommt man nicht mehr ran. So ist das eben wenn man "mal schnell" was machen will.
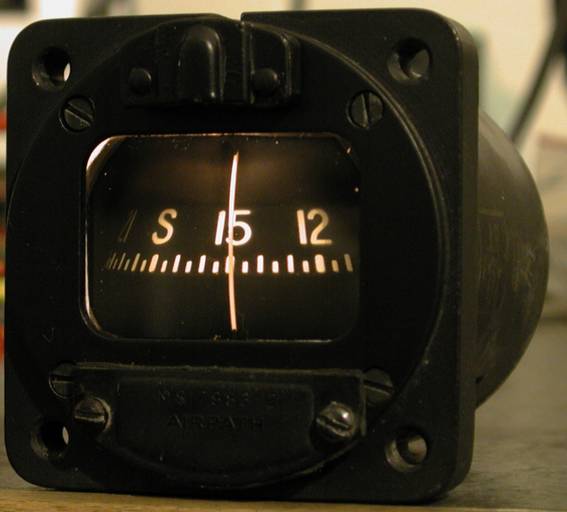
Zur Entspannung habe ich dann zuhause das rechte Pedal verdrahtet (dabei kann man schön Musik hören) und den kleinen Magnetkompass gereinigt und die Beleuchtung repariert. Nettes Teil, so einen muss ich mal für's Auto organisieren...

Saturday, November 18, 2006

Kleiner Nachtrag... ich habs geschafft, dass jetzt jeder seinen Kommentar abgeben kann.

Bisher war das nur anderen Bloggern möglich aber ich hab jetzt die Einstellungen geändert. (Es war so langweilig ohne die dummen Sprüche... :-))
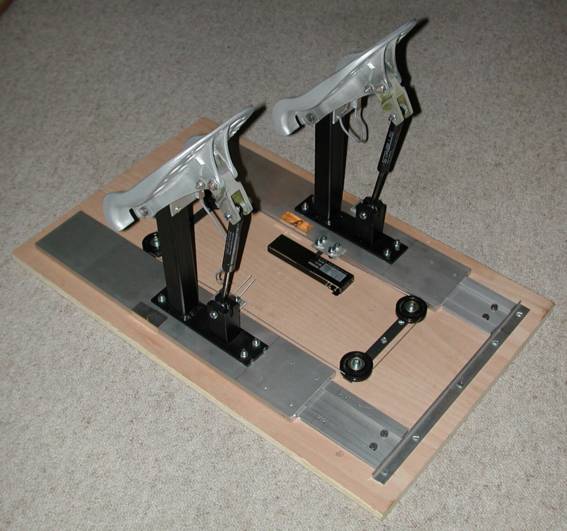
So.... endlich ist das erste Pedal fertig. Das Potentiometer montiert und die Kabel sind angeschlossen.
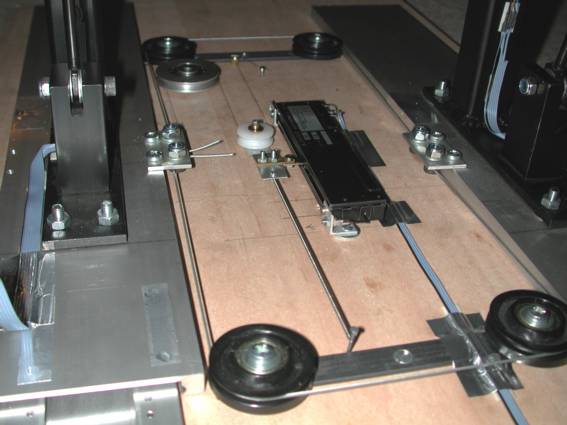
Es hat sich mal wieder bewiesen, dass die kleinen "nur noch schnell" Arbeiten immer länger dauern als man zuerst denkt. Alleine die weisse Rolle mit dem Aluwinkel hat etwa 2 Stunden Arbeit gekostet. Ich hab natürlich die Luxusausführung gewählt, Rolle handgedreht, Achse aus Messing ebenfalls... nur die Schrauben sind gekauft.
Dafür hatte ich es mit der silbernen Rolle weiter hinten einfach, sie stammt aus dem Computerschrott. Ich musste sie nur mit einer Holzschraube befestigen, alles andere war bereits dran.
Die Feder auf der anderen Seite des Potis stammt aus der Schublade mit Ersatzteilen für alte Rechenmaschinen aus dem Geschäft. Gut habe ich die bei einer Firmenübername vor dem Schrottcontainer gerettet. Ich wusste doch, dass man immer wieder mal ein Federchen braucht.

Monday, November 13, 2006

Matt sei dank! Matt...? Wer ist denn Matt? Tja, das ist wohl der verrückteste Simulatorbastler der Welt. Dank seiner Homepage www.mattssimulator.com bin ich auf die Idee gekommen wie ich die originalen Instrumente für den Sim benützen kann. Schaut euch seine Seite mal an aber haltet euch fest... alleine die "Basement Tour" könnte euch vom Hocker hauen. Leider hat er keinen Mail-Link, ich hätte mich gerne bei ihm bedankt.

Viele Instrumente im Cockpit laufen mit sogenannten Synchros. Wenn man zwei solche Synchros richtig miteinander verbindet, dann kann man den einen drehen und der andere läuft synchron mit. Verbindet man nun einen Synchro mit einem Frensteuer-Servo von Simkits (www.simkits.com), dann kann man ihn per Computer steuern und somit auch das Instrument das dran hängt.
Das einzige Problem ist, dass man eine Spannungsuelle braucht, die 26 Volt bei 400 Hertz liefert, denn mit dieser Spannung laufen fast alle mechanischen Anzeigen in Flugzeugen. Ich habe das Problem mit einem Verstärker (schwarze Kiste im Bild) und einem Tongenerator gelöst. Für den Simulator muss ich mir noch einen Oszillator basteln... den Verstärker übernehme ich so wie er ist, der liefert 400 Watt, das sollte genügen.
Los Pedalos sind so gut wie fertig... nur das Potentiometer muss noch richtig befestigt werden. Das ist übrigens das teuerste Poti, das ich je gekauft habe, es hat 60 Franken gekostet aber es läuft dafür supersmooth. Es soll ja auch eine Weile funktionieren, da darf es schon etwas kosten.
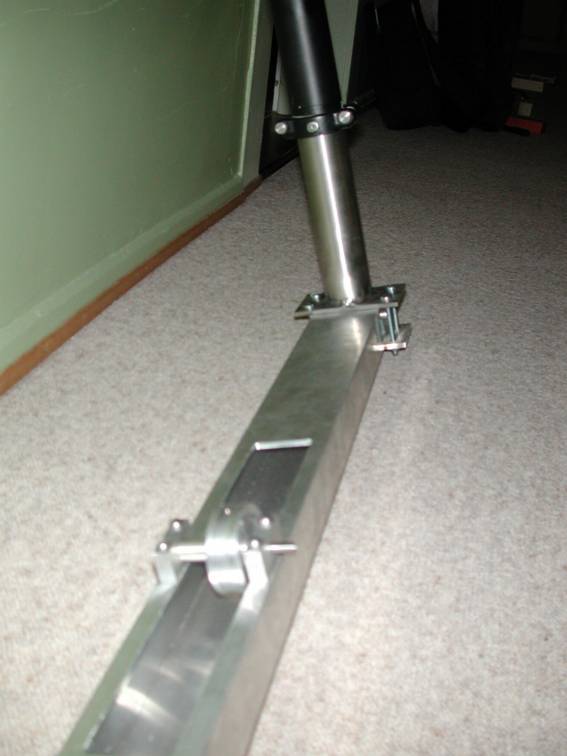
Die Pedalanlage ist mal wieder ein gutes Beispiel für aktives Recycling. Die Gasdruckfedern stammen von grossen Druckern, die Rollen aus einer HP Optical Disk Jukebox und die Gleitschienen sind aus einem 19-Zoll Rack und haben einst grosse Disks von Fujitsu getragen. Nur das Drahtseil ist neu und stammt aus dem Veloladen.... und das Brett... von Migros.
Die Schalter für die Bremsen sind induktive Näherungssensoren die reagieren, sobald das Pedal gedrückt wird. Sie stammen aus der Greifhand eines Tape-Roboters.

Saturday, October 21, 2006

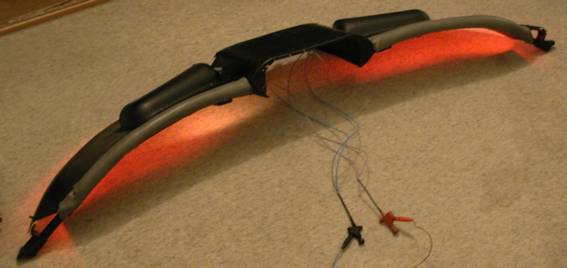
The Wing Fighter from Star Wars part 17? Assault of the Zylons? Nooo, totally wrong, this is the so called glare-shield which is installed above the pilots instruments. Integrated in it are red and white illumination lights. Underneath the bumps left and right are the light regulators, the rheostats.
It was not easy to get red lightbulbs of this size but with some pieces of color film for stage lights did the job too.

Wednesday, October 18, 2006

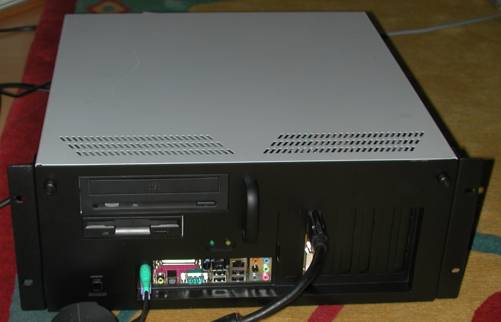
The first computer is ready. Let's see what the dual core pentium is able to do. The front cover is painted in "Connie Avionics" black. The computers will be installed in the radio rack and take the place of the radios which were installed there in the early days.


Oh... Doctor, what is it...? Congratulations! It's a pedal.... Quadruplets to be precise. Of course all the mechanics for steering and braking is still missing but it will come soon.

Wednesday, September 27, 2006

Today it was time for the small parts... I removed the nuts from the windshield frames and polished each one... 280 pieces! Now the inside of the cockpit can be painted and it will certainly look great with all the shiny nuts.
I know, there are some machines that polish such parts in no time but I don't have one. This way I had some work for another 2 hours... I don't want to run out of work ;-)

Tuesday, September 12, 2006


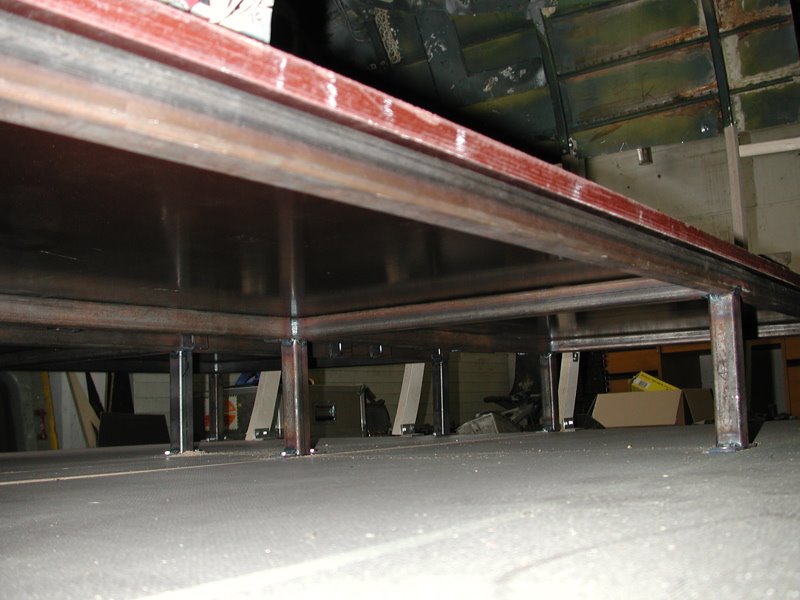
An important part has been added... the platform for the pilots seats. This time I welded it myself and I think it came out very well, even if I'm still a beginner in welding.
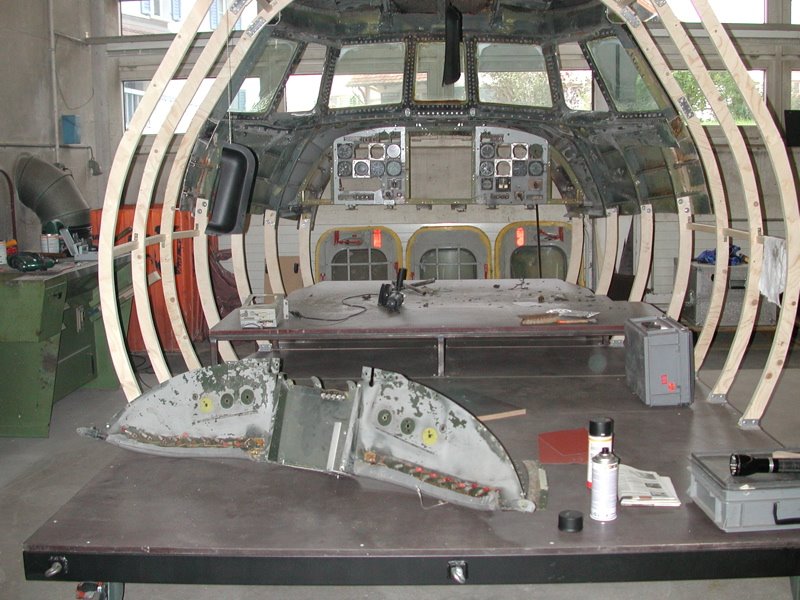
As one can see, I removed the glareshield, the cover above the instrument panels. It will be cleaned, sanded and painted.... black on the top and Lockheed-green on th underside. The illumination regulators will be rewired and the bulbs replaced.

Tuesday, July 18, 2006

Something for the specialists... The cockpit will not be built to the original width because this would be 2.80m or more at the rear wall. But I want to have it transportable and this requires a maximum size of 2.50m or it will be a special oversize transport with authorization by the police.... far too complicated.
So, it needed to make a compromise between the original size and userfriendlyness.

Enough motorbiking.... now I have some vacation ant time to build. It is amazing what one can do in one day. I started cutting the wood parts at 10:30 and at 20:00 the whole framework was finished... including lunch break and driving to the hobby center for small parts.

Sunday, July 02, 2006

SUMMER BREAK! Or did you think I'm sitting in my workshop with this nice weather? No, I rather make a little trip with my bike and show the other bikers what such a Milwaukee old iron is able to do.
The footrests are getting thinner in every curve :-)

Thursday, June 08, 2006


My new joystick... is almost finished, just a few steel cables and a potentiometer are missing. I decided to use a more expensive potentiometer for which the data sheed promises a lifetime of 10'000'000 movements. Let's hope it's true.

Thursday, May 25, 2006

The NAV-COMM panel lights up. All whells oiled, lamps replaced... The display illumination consists of two extra bright LED's now because the original lamps are not available anymore. And the VOLume knob is now made of aluminum because the old plastic knob is broken during the disassembly.
If there are no spare parts, one has to make them.

Wednesday, May 17, 2006

ADF Panel by night.... no further comment.

Sunday, May 14, 2006

An actual picture of my workbench. The NAV-COM panel lies here in parts and waits for reassembling. WD40 did miracles again and re-liquified the dried grease. After cleaning it's a job for the red Neoval oil because WD40 evaporates much too quickly. It is great to clean stuff but for a longtime lubrication it is not suitable.

Friday, May 12, 2006


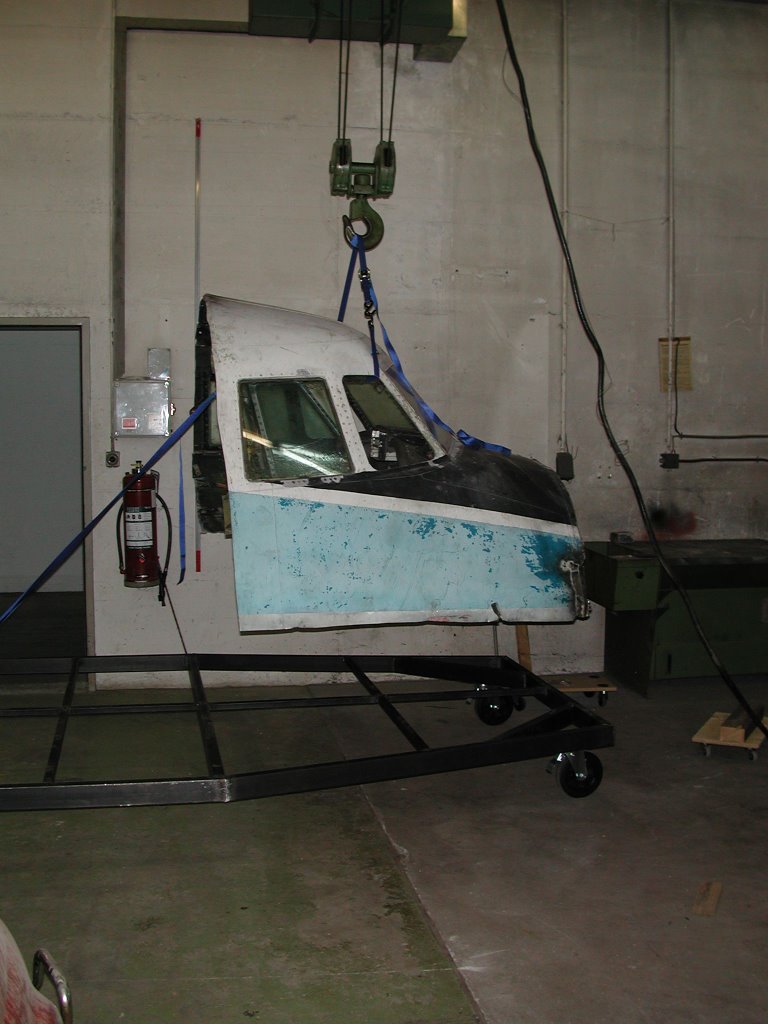
Let it roll! The frame is welded together, many thanks to Reto Meier for helping with this. The next step will be to cut lots of wood. The cockpit fragment and all the other parts will be mounted on profiles made of plywood. This makes it possible to create any desired shape I like, no matter if curved or straight. At the end everything will be covered with aluminum sheets screwed to the plywood profiles and the Connie gets a nice fuselage. We will see..... it's the first airplane I'm building. ;-)

Monday, May 01, 2006

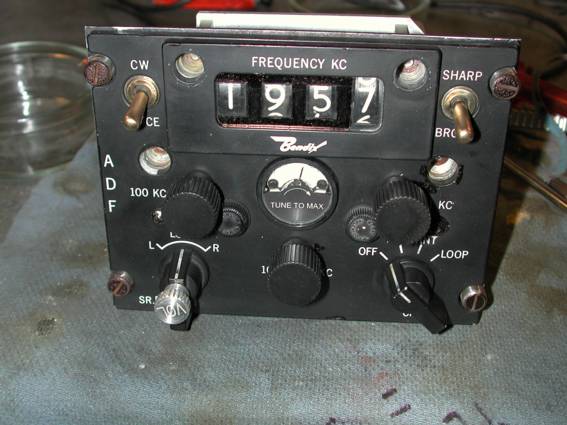
The automatic direction finder (ADF) panel. It seems it was standing in the rain for some time. The numbers of the display were completely stuck and rusty. That much about "aluminum does not rust"... well it's true, it is just called differently.

But now it works again and when I get the lamps from the USA, it will light up like new. And that's all it has to do.