Monday, July 30, 2007

Fresh paint


Painting finished! It is amazing what difference a bit of paint makes. Last week the simulator looked like a pile of sheet metal and now suddenly like a piece of a real airplane.
Now I let dry the paint and then I can start with the internals. I'm an electronician, not a carpenter or painter....

Saturday, July 28, 2007

Keep on rolling


This weekend I used up pounds of paint and I'm not finished yet. I begin to understand why they need tons of paint for a Jumbo Jet and why some airlines leave their planes mostly unpainted.

Looks not bad, right? I did not use an spray gun... everything is painted with a roller and that looks good enough for me. In fact, I have seen worse jobs made with spray guns.

Friday, July 27, 2007

Handles to move

Next job will be to attach some handles to move the sim.

Yesterday I used up two big cans of primer paint. The whole afternoon I have painted like a crazy. The cockpit appears now in a nice light gray and has finally the same color everywhere. (Picture coming soon)
Dulux Universal Primer is perfect for that job and works great on bare aluminum sheets without sanding.

Sunday, June 10, 2007

Nose job


The Connie also has a nose now. Not as beautiful as the original but made of fine plywood.
As you can see, I have started to grind down the old paint. I will not strip it down to the bare metal but the deepest scratches have to go. A dusty job... !

The 1000pcs package of pop rivets is almost empty.

Tuesday, April 24, 2007

Wrooom...


I really don't want to complain about the beautiful weather but it's bad for simulator builders. I have to ride my bike everyday and the sim work is waiting.
Last summer I bought this new toy, the red and white on the picture. Compared to my old Harley it's like a jet compared to a propliner. Now I have a bike for every mood.
For bike fans.... it's a Yamaha FZR1000 fron 1987 (without EXUP) and almost an oldtimer already with it's 80'000 km.

Thursday, April 05, 2007

Happy birthday!

Oh - Wow - Hello! I almost forgot the first birthday of my blog! One year ago I started the first post. Amazing how fast time is running.

HAPPY BIRTHDAY CONNIESIM-BLOG !!!

A door for pilots

After a short pause I had some time to work again a bit, I have a door now! Push the pusher and come in...!

That's how it looks inside. A bit bald and woody. But that will change, I promise!

I bought a 1000pcs pack of pop rivets and aready used almost the half of them... Click...pop...tingling... With such music you don't need a radio.

10 square meters aluminum sheets, 300 wood screws and 500 rivets later it looks like this. If you ask how I will get the seats through this narrow door, you have a good reason to ask. On the left side I will make a "service door" but I have to cut it out first.

Thursday, February 15, 2007

Intensive work


That's how it looked before...


And that's 2 1/2 months later.


The masterpiece is finished! I think I can say that without exaggeration. In no other part of the cockpit I invested so much time and work and I hope that will not be necessary anymore.
Sometimes I had some doubts if I really will finish that work. It's quite a mental thing and you need a lot of patience.
I painted many parts twice and triple because something went wrong. Acrylic paint on synthetic resin for example makes some funny things. Doesn't look good but it looks amazing when all the paint shrinks like the skin of an old apple.
You never stop learning....


Sometimes I wondered about the constructions of Lockheed. Many nuts are riveted to the metal and easy to drive a screw into, but others, especially on the most difficult places not. I don't know how they assembled that unit fifty years ago... I suspect that they must have had some very little workers, maybe four inches high, with at least five elbow joints on each arm.

Sunday, February 11, 2007

A new part is ready to be connected - the wing flaps lever. First I feared to have not enough space to install the four reed switches (magnetic switches) but during the disassembly I had the idea to simply glue them to the cover next to the lever. Then glueing a small magnet to the lever itself and finished is the job.

Well, it worked not that fast. I broke some of the tiny and fragile glass switches and had to repeat the process.
Today I installed the cover on the console again and it works very fine. The switches switch exactly at the moment when the lever locks into it's positions.

I still have to wire the gear switch andt the whole trottle pedestal is finished. Maybe also the auto pilot... maybe not, we will see. I think it makes not much sense to let the computer fly alone. But future will show it. I can add that feature later if I want.

Wednesday, February 07, 2007

A new part again - The Spock-unit for the throttles is built and wired. It's waiting to be mounted into the pedestal.

Spock-unit? I called it so because "potentiometer-unit" sounds so boring... :-)

Sunday, February 04, 2007

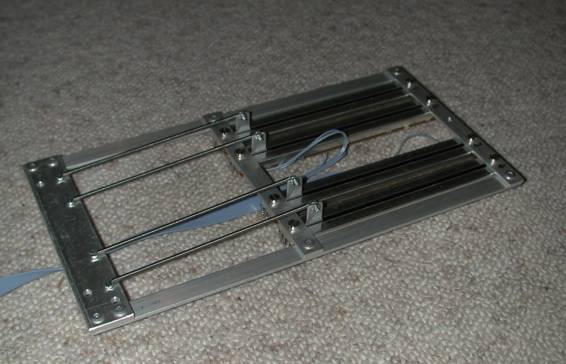
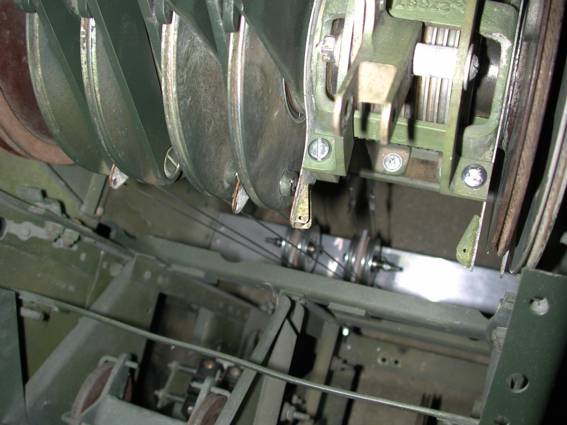
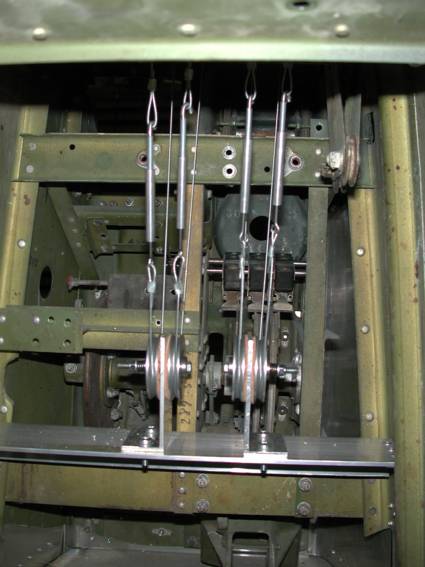
I almost forgot it... I finished something important today. The elevator trimmer is working, is electrified and ready to be hooked to the interface. I did it in 1950 style with rolls and cables and springs - fly by wire in the old fashion.
Rats in the cockpit... Snakes on a plane? No, no, not a Hollywood phantasy product, just a landing gear knob with some teeth marks. I first thought that this may have come from some careless pilots scratching it with his shoes. But after a closer look I saw that it must have been a little animal like a rat or a Guinea Pig. Do they live in the Dominican Republic? Maybe... Or tiny little midget leopards.

That explains why the landing gear lever smelled penetrantly like shit when I sanded it. I first thought it was some strange sort of paint but....

What a shitty blog entry today.

Friday, January 26, 2007


There is some friction.... The throttle feeling is already perfect because I mounted the friction rollers. Aluminum discs and leather, pressed together by a spring. Why leather? Because the first cars had brake pads made of leather and I had nothing better in my workshop. And it works wonderfully. The potentiometers are still missing and178 other parts until the throttle console is finished.
Yesterday I put a new gear wheel into the elevator trim indicator (the disc with the numbers) and now this works too. Ba chance I had a suitable gear in my collection. The only problem was to turn the round hole in the middle into a hexagonal one. But with some time and a file even that is possible.

Sunday, January 14, 2007

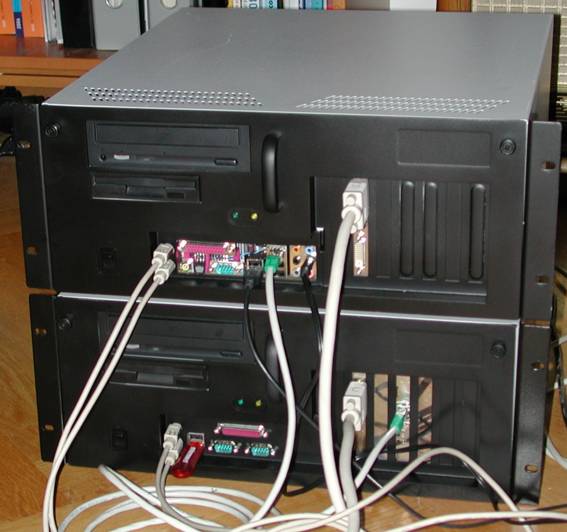
Master and slave.... The one is a dual core Pentium 4 with 3 GHz. The other a Pentium 3 with 700 MHz. I admit these are quite unequal twins but each one fits to its purpose. The faster runs the Microsoft flight simulator, the slower some additional software for the instruments.

Thanks to WideFS both can communicate with eachother. Today I installed the Instructor Station demo from Project Magenta to test the link between the two. I think I will buy the full version because the software is great! You can play God with it... engine failure? Here it is... just click a button.

Tuesday, January 09, 2007

And there is always one who is crazier than yourself...!

To restore a cockpit is already a rather crazy idea and sometimes people are looking strange if you tell them about your hobby. But while surfing the internet you find even stranger people from time to time.

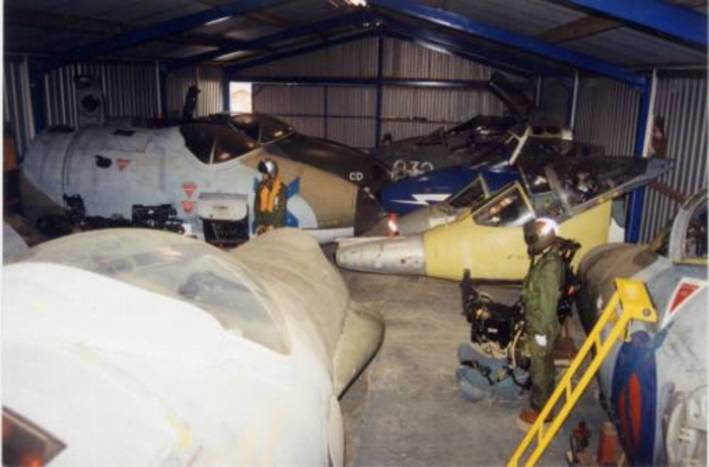
The picture shows the cockpit collection of Roy Jerman, a member of the "International Cockpit Club", located in England. Most members have a single cockpit or only a instrument panel... but not Roy.

"Do it right or do it not!"

Sunday, January 07, 2007


A couple of weeks passed and I didn't write something new. But that doesn't mean I did nothing!
As one can see on the pictures, many things happened. (Compare the pics on the post before)

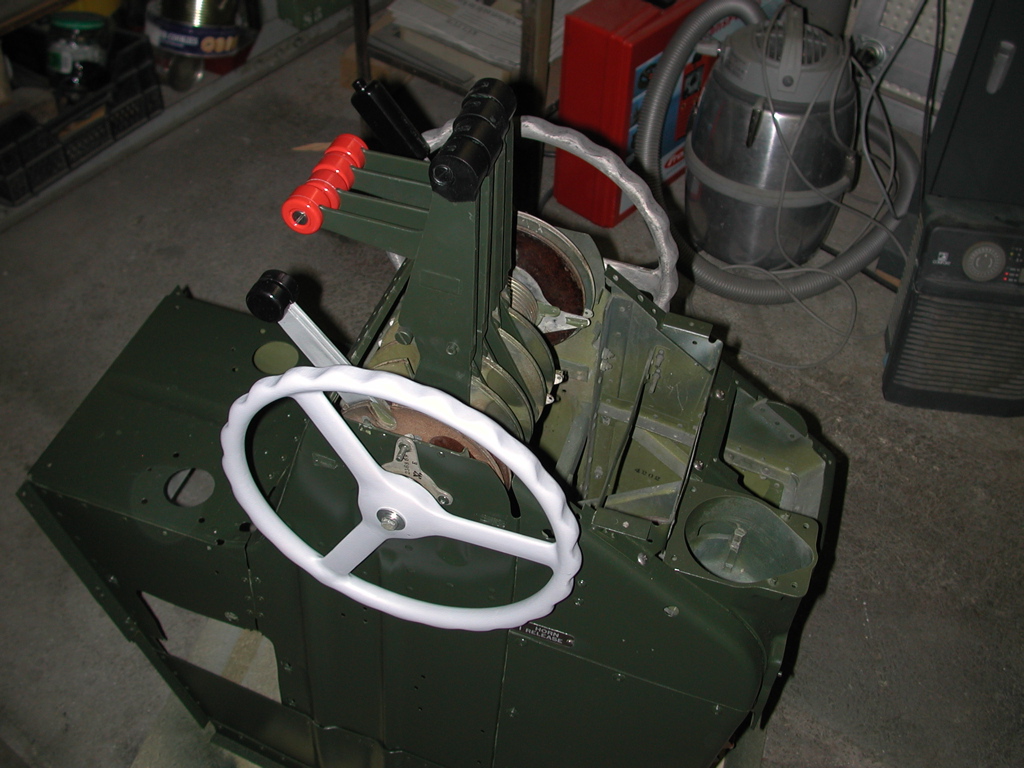
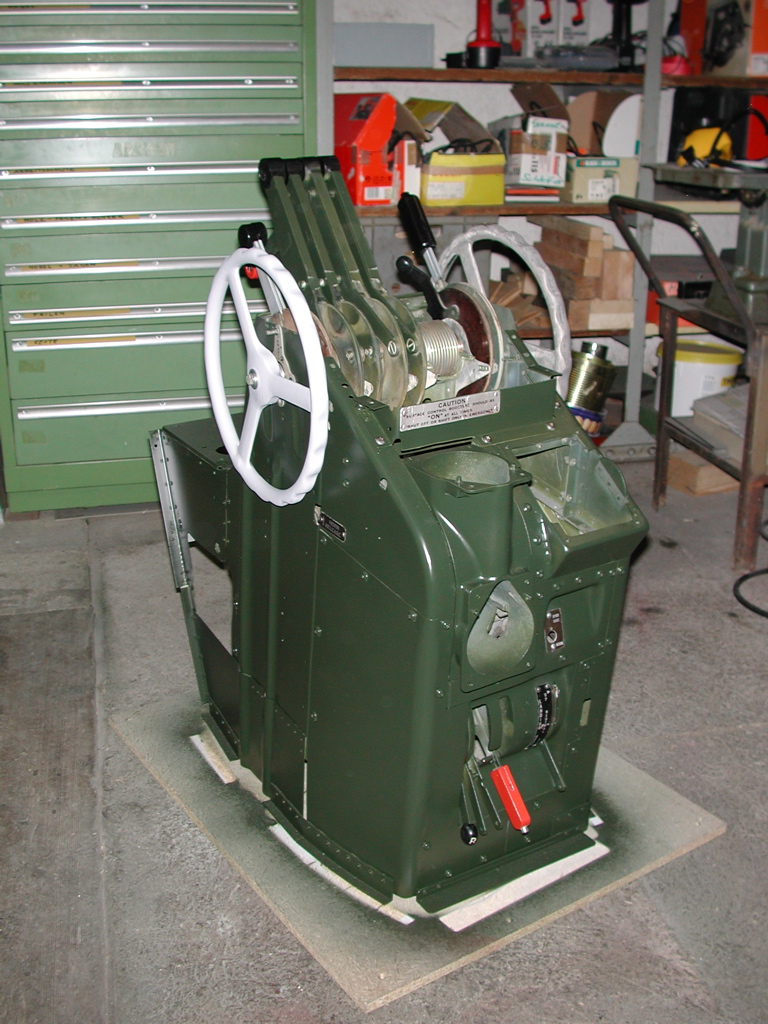
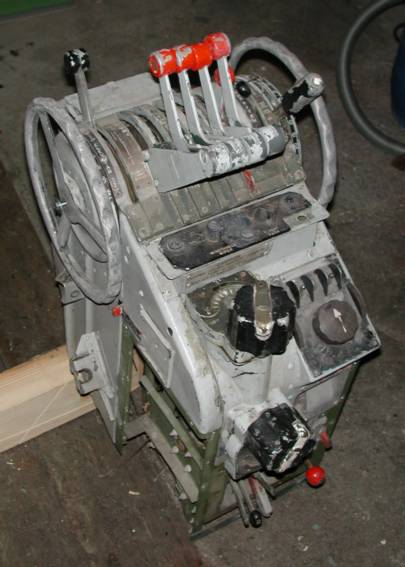
The throttle console is one of these things where I had some doubts if it will come out good. But now, with some fresh paint on it, I am quite confident. Sometimes I ask myself how I made that. I had to make the sheet metal around the left front corner new because it was missing. I had to attach some sheets around the lower edge because the "colleagues" in the Dominican Rep. have not been very careful with the cutter. The rear part had to be re-attached because it was cut away during the disassembly of the cockpit.

Sounds simple in these few sentences... but it isn't! I'm not a tinsmith, I'm a computer hardware techie... but with a bit oil and metal in my blood.

Well, the mechanical part of the work is almost done. Some more parts have to be cleaned and painted and that's it... half the work is finished.
Half the work? Ah yes, the electronic part comes after that and it will be a bit complicated. potentiometers... breaking the throttle levers mechanically.... switches...levers...auto pilot...reverse lock... gear lock solenoid... etc. etc.

Tuesday, December 05, 2006

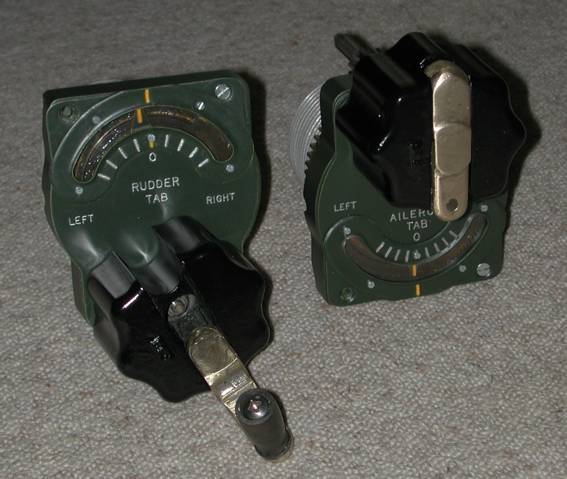
Beautiful but without a function... the trimmers. I will not convert them to work with the simulator. They are looking good and that's fine.
One can turn the handle and the pointer in the display moves, just like in the old times. The glasses of the displays are made from CD cases... I needed something transparent but not too thick.
You gotta have good ideas....

Sunday, December 03, 2006


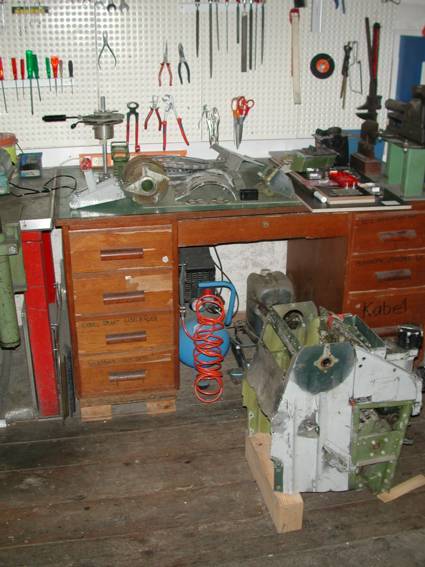
Well... this whole project is a difficult task but this thing here will be the most complicated part of them all.

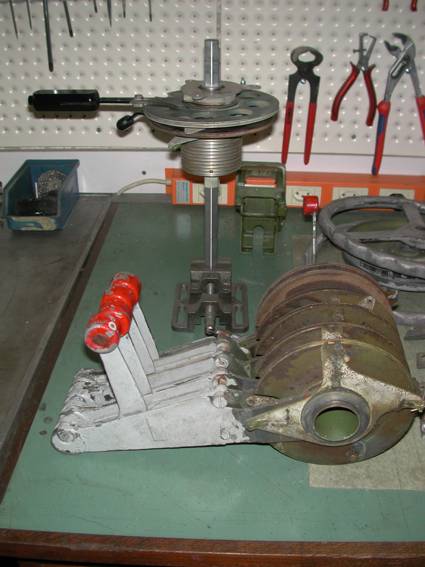
I don't know how the people from Lockheed put this thing together but some parts are not made to disassemble again. Not a single piece can be removed without removing two or three other parts before. And you need a around-the-corner screwdriver and a 3/8" rubber-wrench... :-)

... or 20 atomic powered micro chinese to get to the screws from inside...

I wonder how they managed it to install or change the steel cables. I'm really glad I don't have to do that!

On the last picture you can see the first finished lever (wing flaps). The housing is already cleaned... that was a sticky job. Today I already painted two throttle levers.

I still don't know how I will install the computer-interface-potentiometers but for nostalgic reasons it will be something with cords and wires.

Sunday, November 19, 2006


Heute hab ich den Glare Shield wieder im Cockpit eingebaut... hab ganz vergessen, dass noch nicht alle Fensterschrauben montiert waren, so hat sich das um eine Stunde verzögert. Die musste ich schliesslich zuerst anbringen, nachher kommt man nicht mehr ran. So ist das eben wenn man "mal schnell" was machen will.
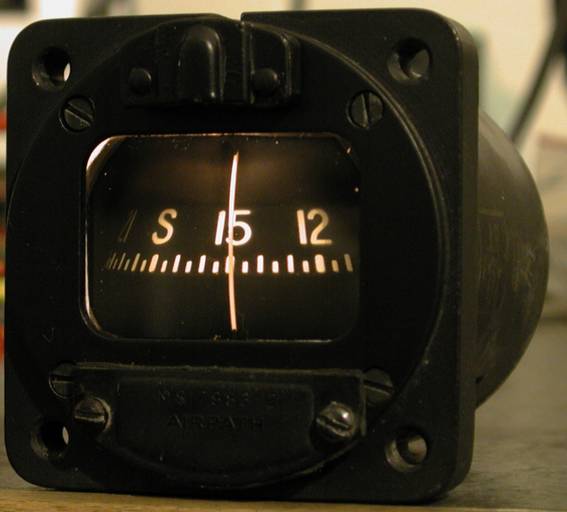
Zur Entspannung habe ich dann zuhause das rechte Pedal verdrahtet (dabei kann man schön Musik hören) und den kleinen Magnetkompass gereinigt und die Beleuchtung repariert. Nettes Teil, so einen muss ich mal für's Auto organisieren...

Saturday, November 18, 2006

Kleiner Nachtrag... ich habs geschafft, dass jetzt jeder seinen Kommentar abgeben kann.

Bisher war das nur anderen Bloggern möglich aber ich hab jetzt die Einstellungen geändert. (Es war so langweilig ohne die dummen Sprüche... :-))