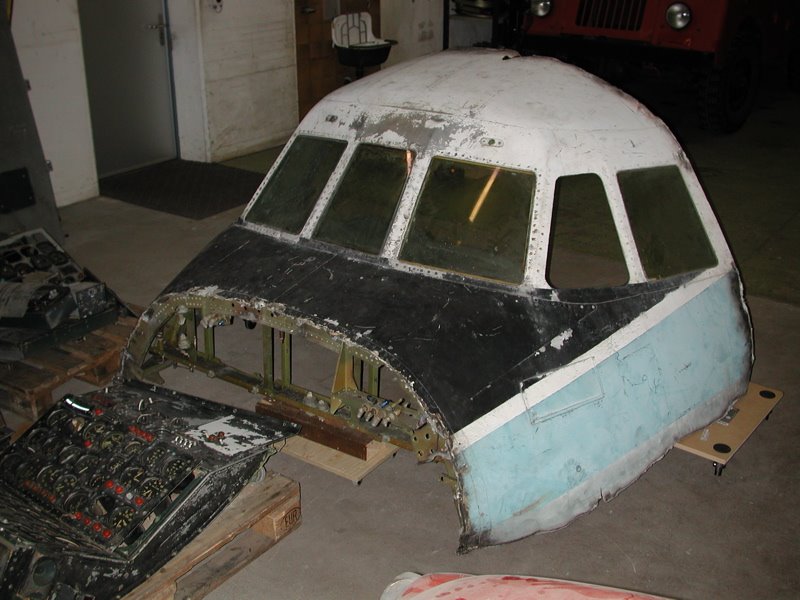
Something for the specialists... The cockpit will not be built to the original width because this would be 2.80m or more at the rear wall. But I want to have it transportable and this requires a maximum size of 2.50m or it will be a special oversize transport with authorization by the police.... far too complicated.
So, it needed to make a compromise between the original size and userfriendlyness.
Tuesday, July 18, 2006


Sunday, July 02, 2006

Thursday, June 08, 2006

Thursday, May 25, 2006
 The NAV-COMM panel lights up. All whells oiled, lamps replaced... The display illumination consists of two extra bright LED's now because the original lamps are not available anymore. And the VOLume knob is now made of aluminum because the old plastic knob is broken during the disassembly.
If there are no spare parts, one has to make them.
Wednesday, May 17, 2006

Sunday, May 14, 2006
 An actual picture of my workbench. The NAV-COM panel lies here in parts and waits for reassembling. WD40 did miracles again and re-liquified the dried grease. After cleaning it's a job for the red Neoval oil because WD40 evaporates much too quickly. It is great to clean stuff but for a longtime lubrication it is not suitable.
Friday, May 12, 2006

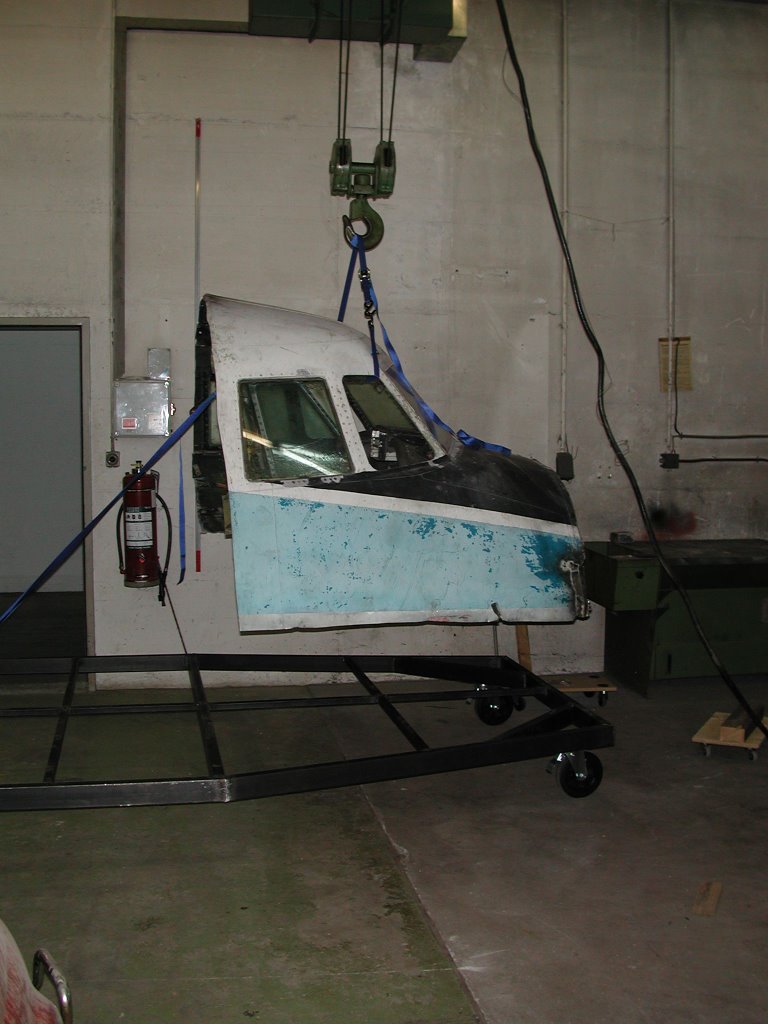
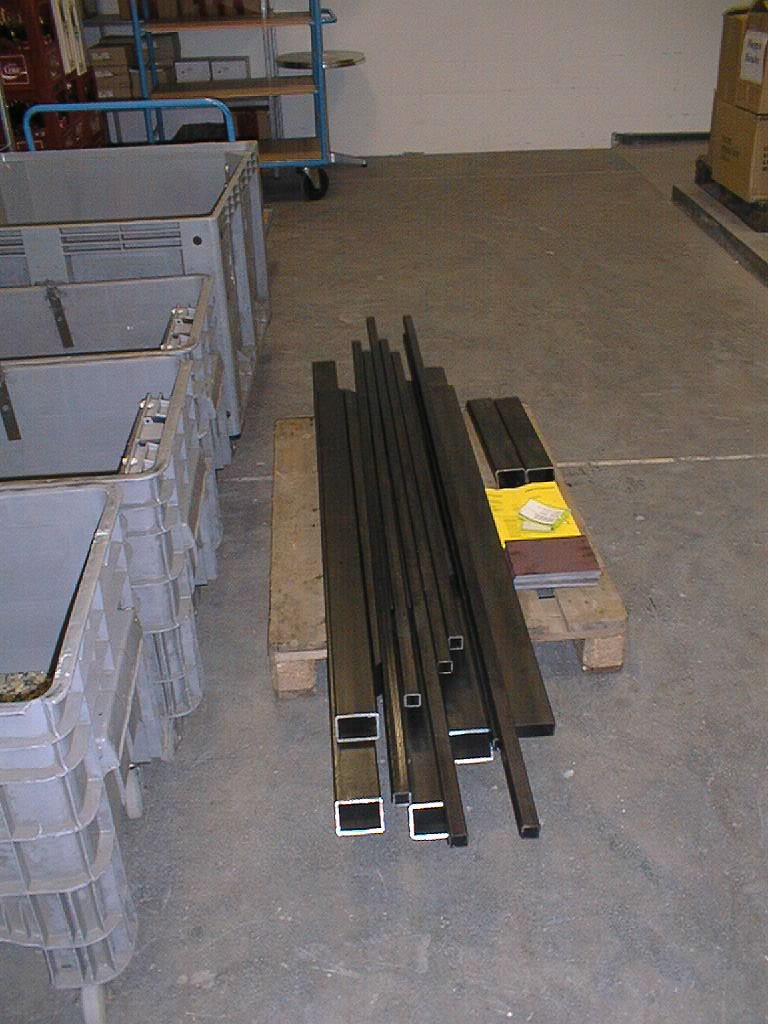
Let it roll! The frame is welded together, many thanks to Reto Meier for helping with this. The next step will be to cut lots of wood. The cockpit fragment and all the other parts will be mounted on profiles made of plywood. This makes it possible to create any desired shape I like, no matter if curved or straight. At the end everything will be covered with aluminum sheets screwed to the plywood profiles and the Connie gets a nice fuselage. We will see..... it's the first airplane I'm building. ;-)
Monday, May 01, 2006
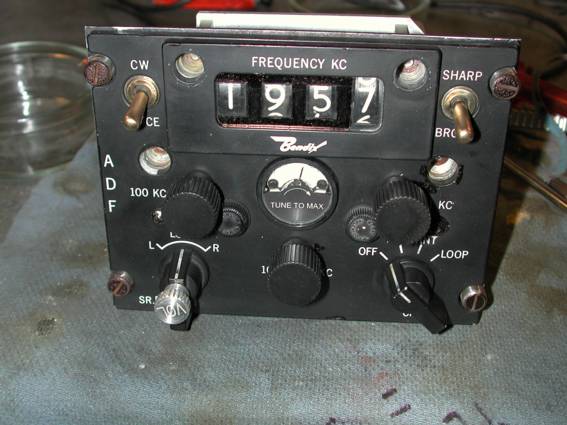 The automatic direction finder (ADF) panel. It seems it was standing in the rain for some time. The numbers of the display were completely stuck and rusty. That much about "aluminum does not rust"... well it's true, it is just called differently.
But now it works again and when I get the lamps from the USA, it will light up like new. And that's all it has to do.
Thursday, April 27, 2006
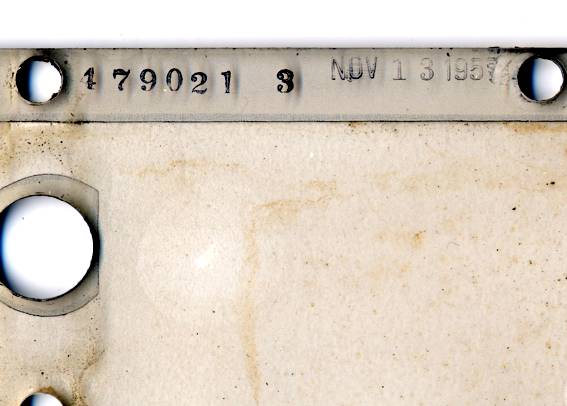 A number riddle.... This is the rear side of an illuminated plexiglass panel. One can see clearly the manufacturing date NOV 13 1957. That means the airplane must be manufactured at that date or later. But the serial number on the panel is 4402 and HI-548CT has S/N 4202.... is it a mistake or was the panel changed somewhen...? Will we ever know?
Tuesday, April 25, 2006
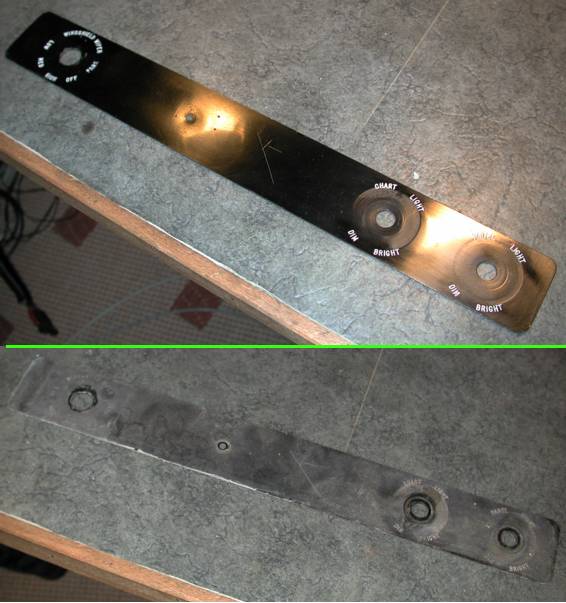 That much can happen in half an hour. Washing with water, cleaning with alcohol and polishing with "the green stuff". Then painting the letters with white water paint and the ugly panel looks almost like new.
The "green stuff" is Knorrostol polishing paste. A real sercet tip for everything that must be cleaned and polished. Metal plastic.... whatever, it's a real wonder stuff.
 Last week I have not worked much on the simulator because my red moster needed some attention. Removing all the RV stuff and make room for future projects. The rear door needed an electric actuator for loking it up from the drivers seat because I want to install a wall between the cargo compartment and the "cockpit" :-)
Monday, April 17, 2006
Wednesday, April 12, 2006
Tuesday, April 11, 2006

Monday, April 10, 2006

Sunday, April 09, 2006
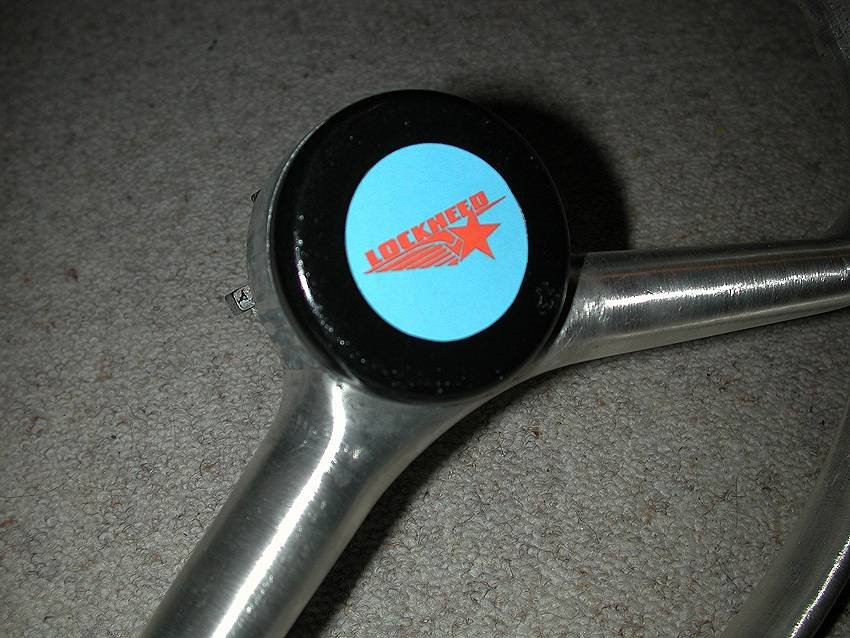 Most wanted.... The Constellation steering wheel hub cap with Lockheed logo. This was the first item that has been stolen from all the Connies besides of the clocks. Now I made two new ones... 4 hours on the lathe and they were finished. I must admit that I lost most of the time by sawing the 80mm aluminum bar in small pieces... by hand! I would be thankful for an electric metal saw...
July 18.: I bought an electric saw and now it is fun to cut stuff like this.
Wednesday, April 05, 2006
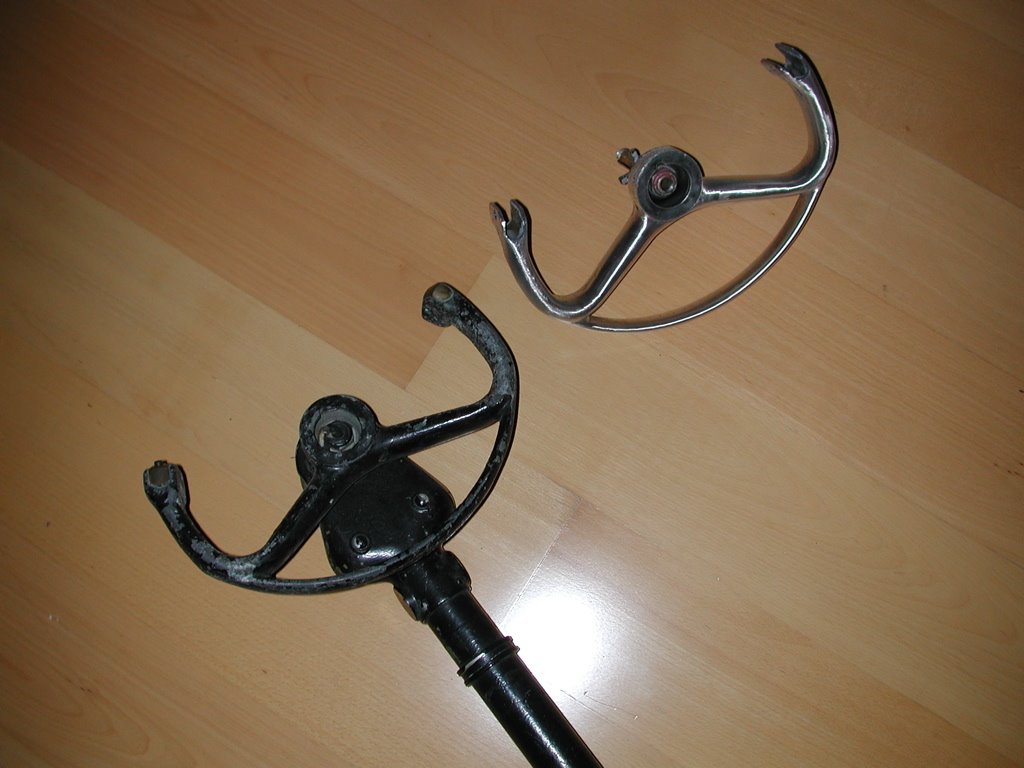
Before.... after....
After 2 hours of grinding, scraping and polishing, the steering wheel shines like new. I'd like to leave it like this instead of painting it black. But even if it looks very nice in silver, it is not original.
By the way, I noticed that the Connie steering wheel has the same diameter like the wheel in my VW Bug.... that would look cool if I'd put it in my car! But a VW steering wheel in a Connie cockpit looks also funny :-)
Tuesday, April 04, 2006

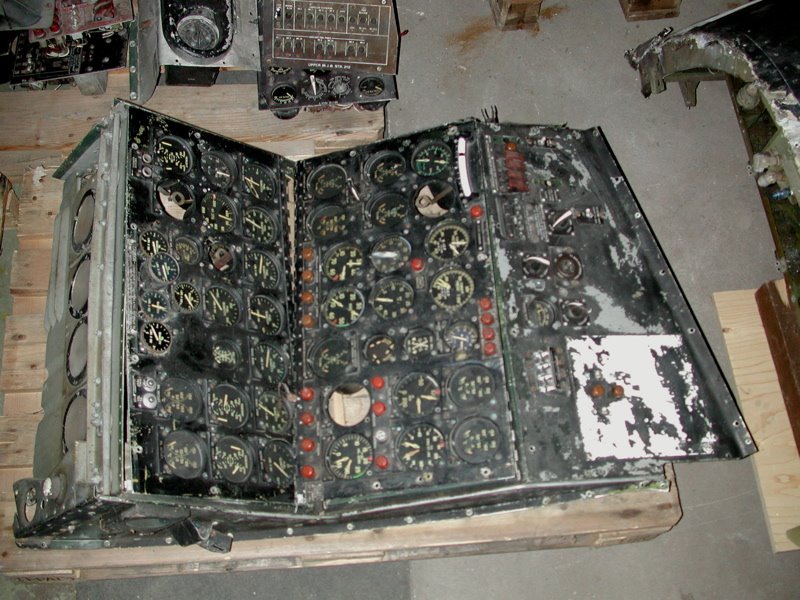
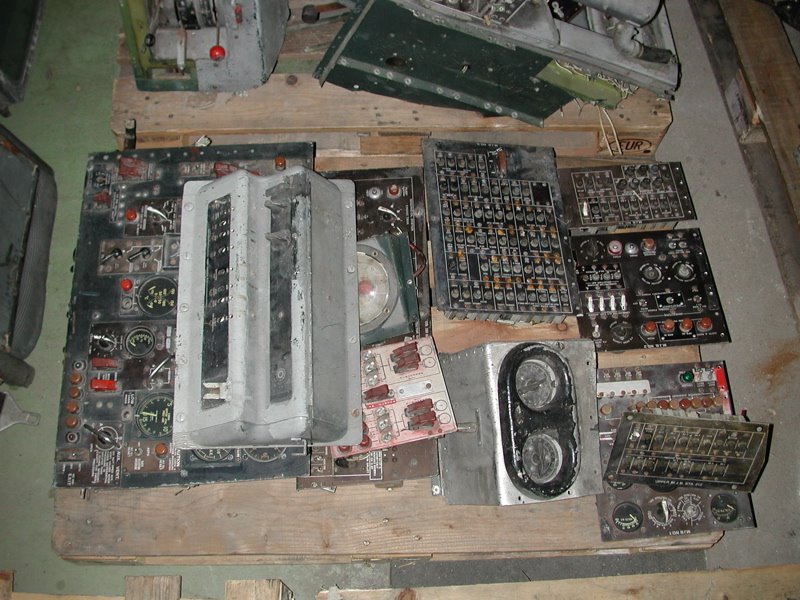
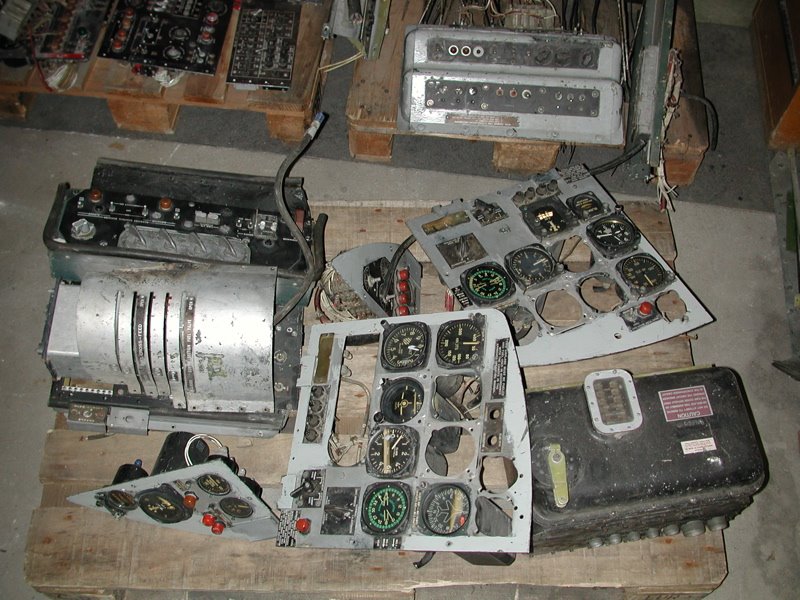
As I said before... "there is some beauty under the dirt"
The first panel is finished. The switches are polished and tested, illumination is repaired and the metal parts in original color painted.
Hard to believe if you compare it with the panel on the picture before.
This is how everything will look at the end. The whole cockpit will look like new or maybe better... who knows...

Subscribe to:
Posts (Atom)